By Tom Jow — Electronics are becoming an ever-increasing part of our lives. In our pocket, in the car and in the house. And since Shimano released their Di2 electronic shifting in 2009, electronics are on the bicycle. Campagnolo followed shortly with their EPS system. In 2015, SRAM upped the bicycle components game by introducing wireless electronic shifting called eTap. When SRAM AXS wireless shifting for mountain bike became available in 2016, I started to get interested. Finally, in the summer of 2021, I bought a SRAM AXS Wireless shifting kit (unsolicited by any manufacturer or sales outlet). What follows is my experience installing and riding with an electronic shifting system.
Introduction
The first question most people ask about electronic shifting is, “how much does it cost?” The price of the entry-level SRAM GX AXS wireless shifting kit is approximately $600. Second-best X01 AXS comes in at around $800 and top-of-the-line XX1 AXS is a whopping $1000.
What is included when spending twice the price or more than a mechanical shifting system? Each box contains a shifter, derailleur, battery, battery charger and b-tension gauge. The shifter is powered by a standard cr2032 coin battery. The derailleur uses a custom lithium-ion battery. Length of battery life is usually the second question people ask. According to SRAM, the average time of use on a fully charged battery is 20-25 hours. The time to charge from drained to full is claimed to be about one hour.
Installation
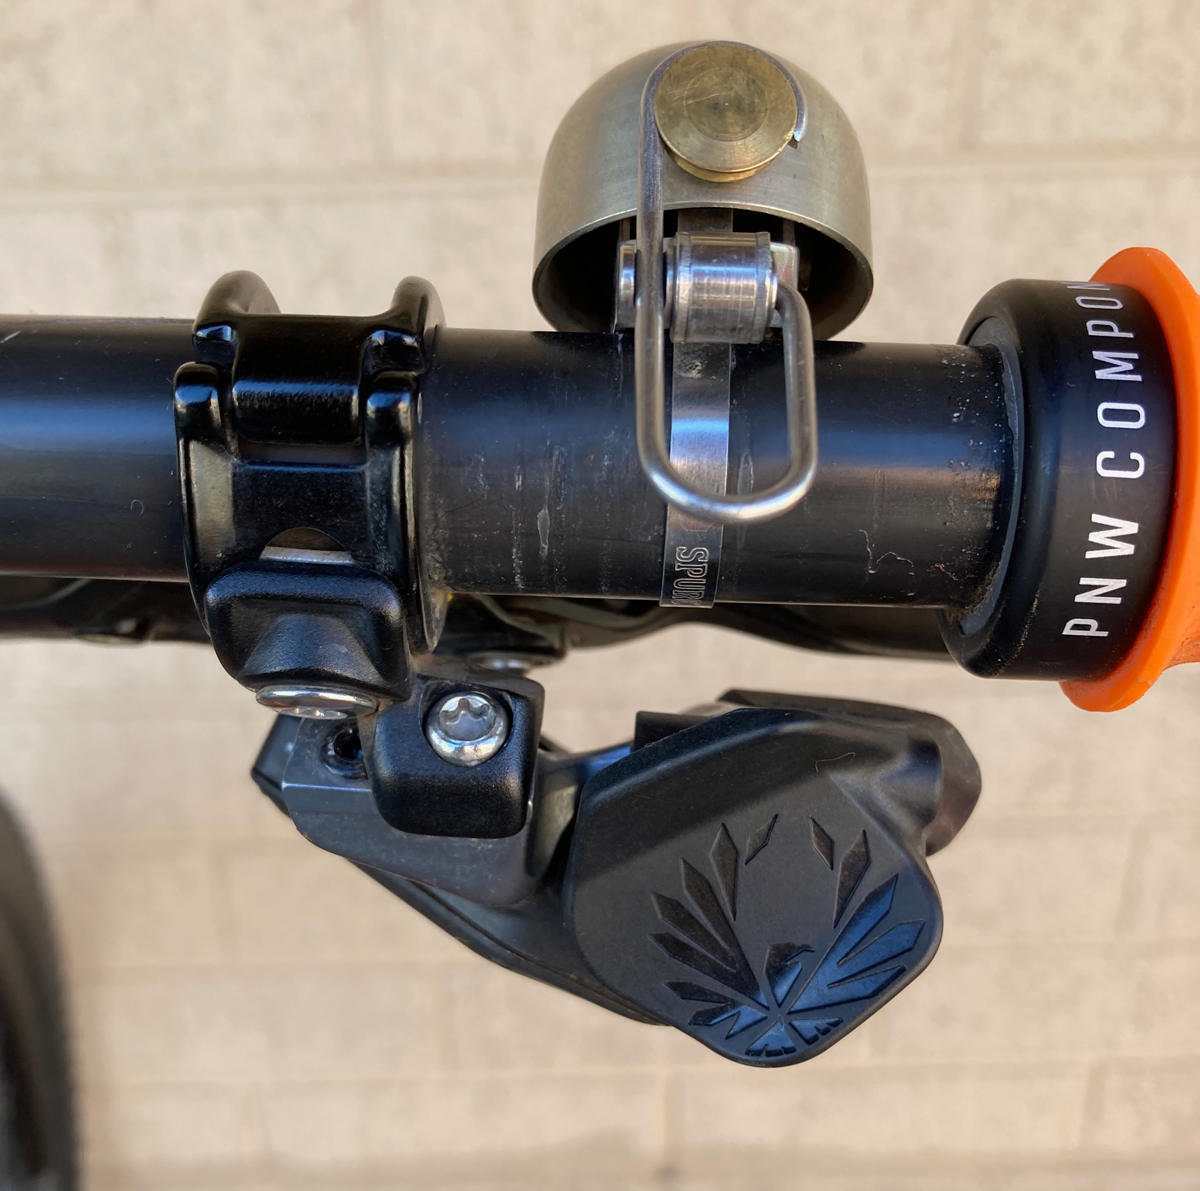
I will be honest. After having been a professional bicycle mechanic for over 30 years, I do not always love working on my own bike. For ease of installation the AXS wireless system does not disappoint. After yanking the old parts off, bolting on the new parts is a breeze. Because I use SRAM brakes, the shifter bolts on with one bolt. No need to remove the controls to install a clamp, a necessity with other brake brands. Next attach the derailleur. Be sure to place the b-tension tab in the correct place. Install the chain and using the included b-tension gauge, adjust the derailleur angle. The last step is the pairing of the derailleur and shifter. The process goes like this: press and hold the small button on the derailleur until it blinks, then, press and hold until it blinks. Press the button on the derailleur one final time and you are ready to ride.
Set Up
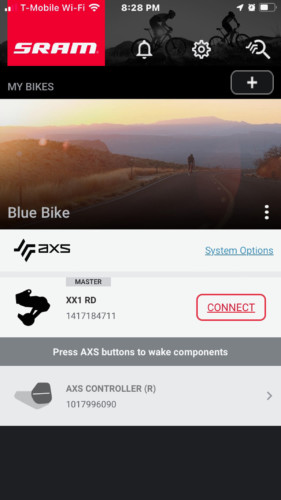
Once the shifter and derailleur are paired, one can ride without downloading the app or customizing the shifting. However, using the SRAM mobile app enables checking the battery level, customizing the shifting, and updating the firmware. The app works so well there is no reason not to use it.
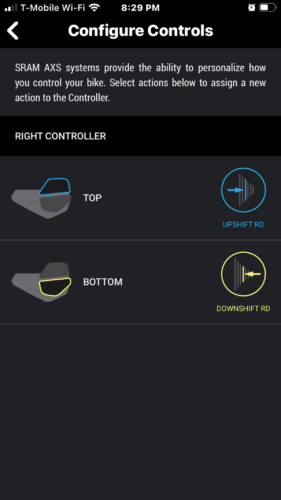
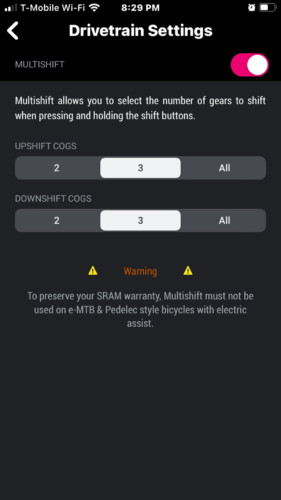
After downloading, open the app. Create a profile and follow the instructions to search for available components. My system was recognized at once. Once connected, we can see the amount of battery charge remaining. From there we can move on to customizing the shift pattern if desired. I highly recommend using multi-shift. Select drivetrain settings. Then, toggle multi-shift to on. Next, select the number of shifts desired, two, three or all. I chose three for both upshifts and downshifts. Multi-shift can be adjusted independently for both the low and high direction. There is also an option to change the toggle direction of the shifter.
The Ride
I noticed two things on my initial rides with electronic shifting. The first was how quickly the derailleur shifts upon pressing the shifter (I don’t know why I was surprised. I have installed many electronic shifting systems). The second was how perfectly it shifted, right out of the box. It shifted so well in fact, that I rode for 3 weeks before remembering that I should check the stop screws. Despite the stop screws being quite far open, the chain did not come off the cassette at either end even once.
As I have spent more time with it, I have realized how much muscular effort is needed to shift a mechanical derailleur. This became even more clear after riding one of my other bikes. Shifting with a cable requires overcoming the friction and springs of several parts. In order to shift three gears, the shifter lever must move approximately 40mm. After using electronic shifting, that 40mm feels enormous. In addition, push button shifting takes much of the mental stress away from shifting. I no longer have to finesse the shifting lever, making sure that I use just the right amount of pressure. It’s not a license to shift under full power, but I felt I could focus a little less on the consequences of shifting poorly.
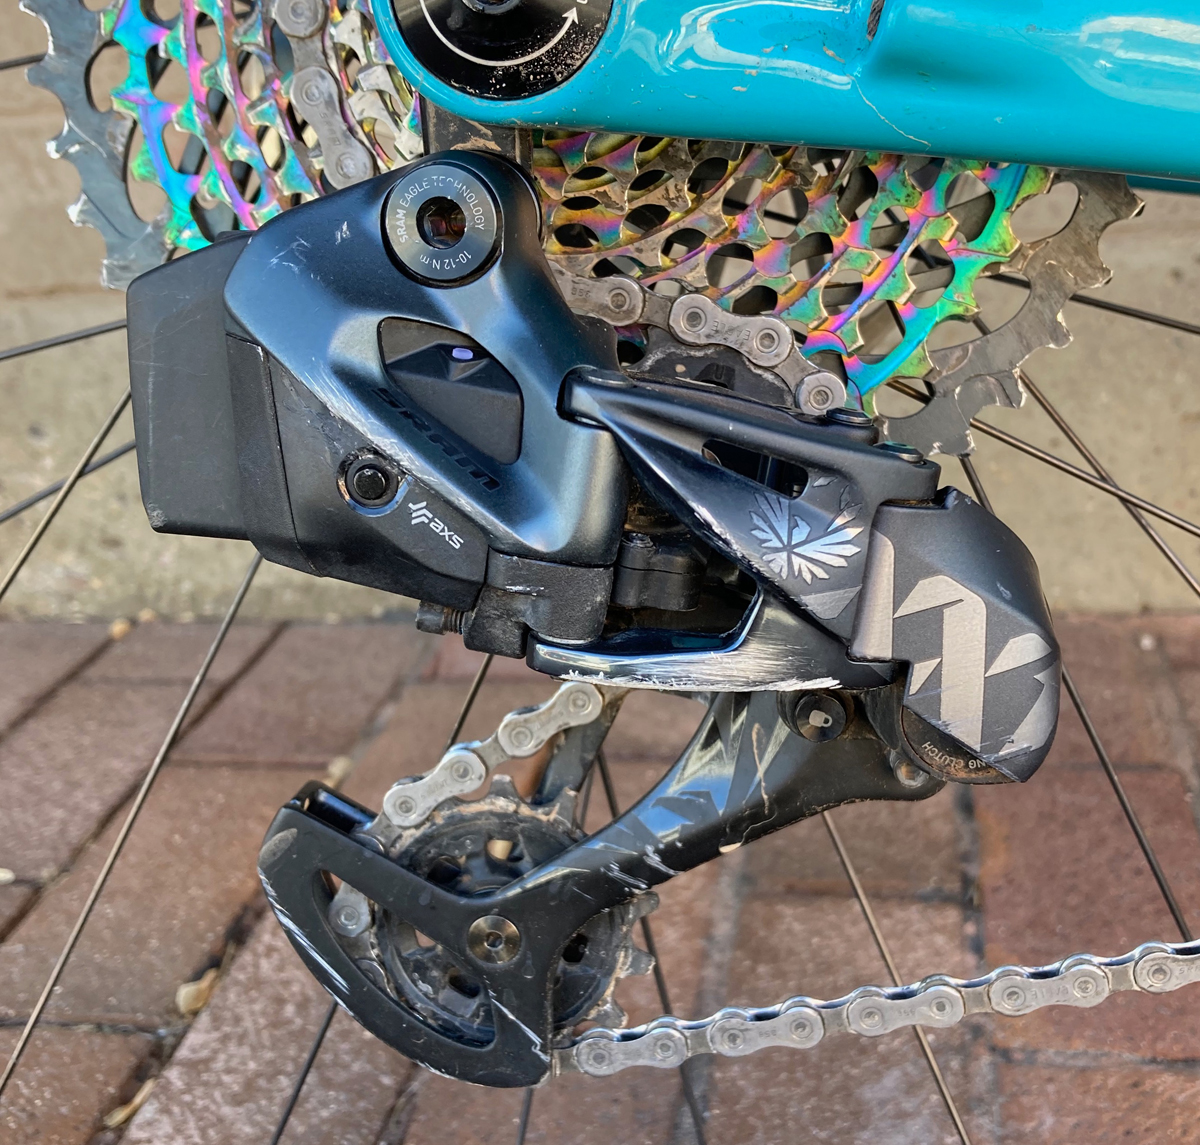
What I did focus on is the fact that there is a $700 dollar derailleur sticking out the side of my bike waiting to break off after hitting a large rock, and I have hit a few. This is where the AXS overload clutch comes in. When the derailleur suffers an impact, the clutch disengages the motor, allowing the derailleur body to move freely, then re-engage the motor upon return. As you can see in the photograph, the derailleur has taken some impacts and still works fine. A bonus feature of the overload clutch is that it reduces impact stress on the derailleur hanger as well.
Conclusion
After four months or so of using the SRAM AXS Wireless shifting system, I would rate my experience as particularly good. Installation was easy. The elimination of cables and wires reduces the installation time by about half. Sure, there is some setup required using the SRAM mobile app, but it is simple and quick. Worries over loss of battery power have not yet come into play. At first, I forgot that I needed to charge a battery. Then, because I carry a spare, I waited to see when it would go dead on me. Over the space of about a month, including three trips to southern Utah, the battery didn’t run out on me. However, I am still a little hyper-focused on destroying the derailleur when squeezing between big rocks.
To answer my question: “Did I need electronic shifting?” No, I did not need it. I do feel like my riding experience has improved because of it. Do I recommend it? Let’s just say I am saving my money for another one.

