By Tom Jow — The summer solstice is past and riding season is in full swing. For me however, it seems like I am just getting started. What this means is that in addition to trying to find time to ride, I must also find time to get the family bikes ready to go. Don’t get me wrong, I put them away clean and tuned. But after a winter’s worth of hanging around in the garage, there are some important details that need to be taken care of before departing on that first ride. Taking care of these details is much easier if there is some record of them.
Obviously one of the first things to do is inflate the tires to the proper pressure. If you’re using tubes then yes, inflation is step one. If your bike uses tubeless tires, it’s a good idea to check the condition and amount of the sealant inside the tire first. In our climate, the liquid tubeless sealant needs to be refreshed about every six weeks. True, the tires will hold air longer than that, but having dry sealant greatly reduces puncture sealing ability.
Next, what is the proper tire pressure? The manufacturer provides a range on the side of the tire. Charts referencing tire size and rider weight can be found on the internet. These are great for initial setup. However, every rider has their own preference. Tire size and rim width also have a significant effect on tire pressure choices. I will refrain from making any recommendations other than I find that as the tire volume goes up, the tire pressure can be reduced. When you find the sweet spot, I highly recommend writing it down.
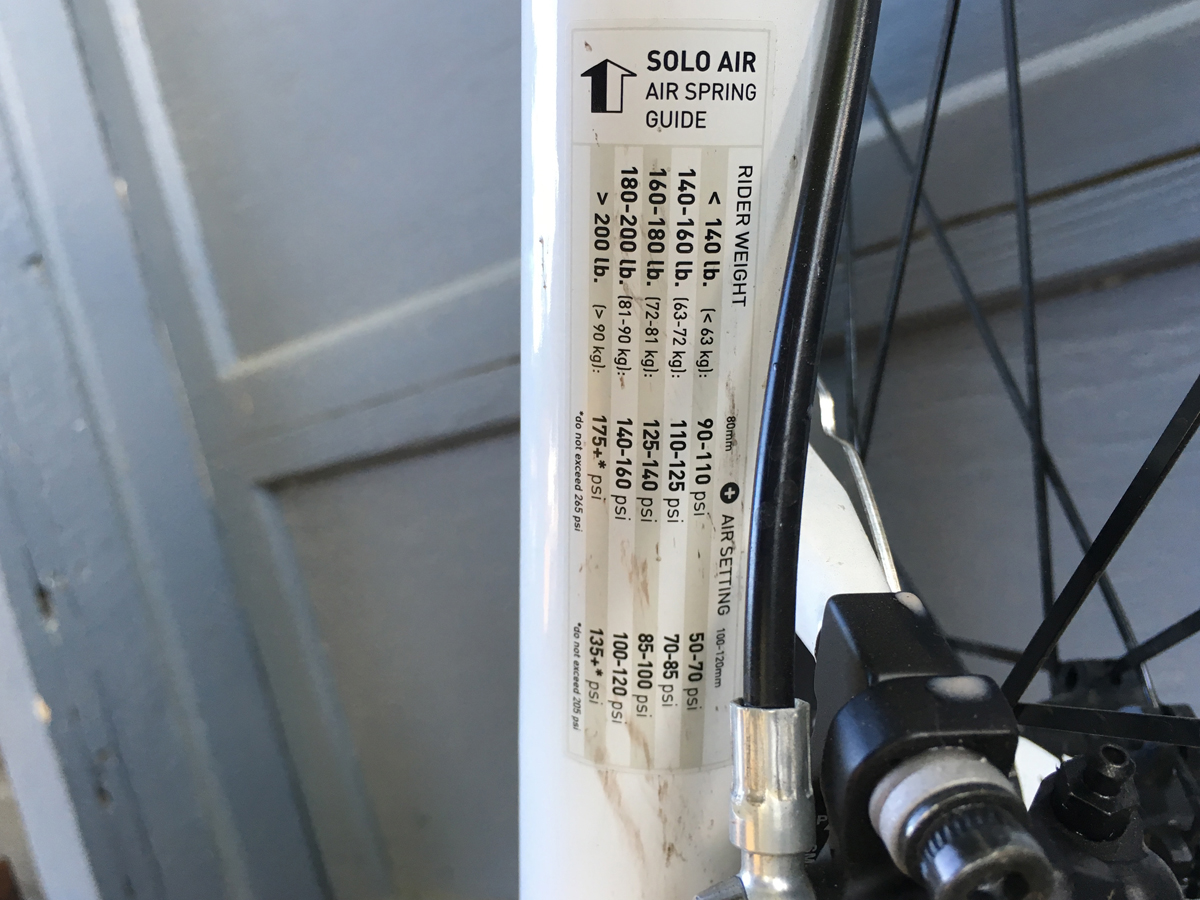
Another adjustment to keep track of is the suspension air pressure. There are two ways to find the initial pressure. One way is the manufacturer recommendation. One brand has it on a sticker right on the fork leg. Others have it buried in a manual, usually on a web page somewhere. Another way is to test the sag of the fork or shock travel. To measure the suspension sag, it is required to know the travel of the fork or shock and the recommended amount of sag in percent. As the amount of travel goes up, usually the sag amount does as well.
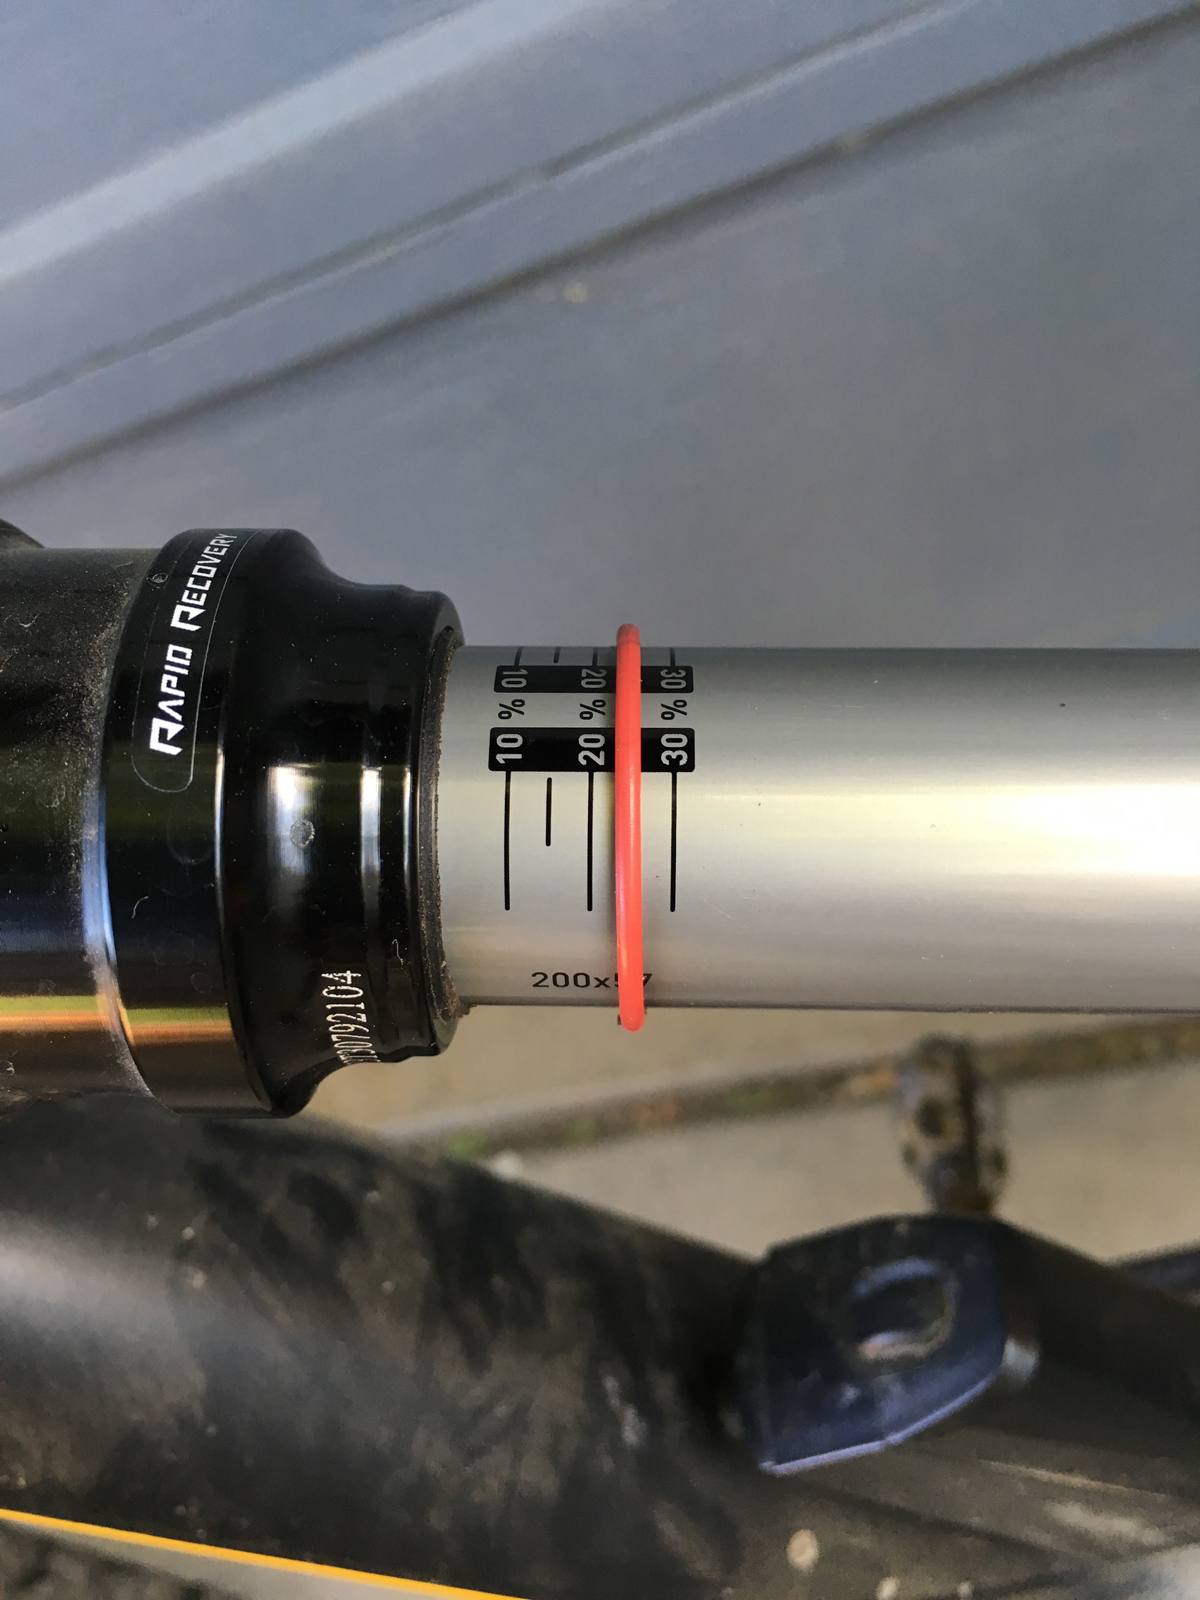
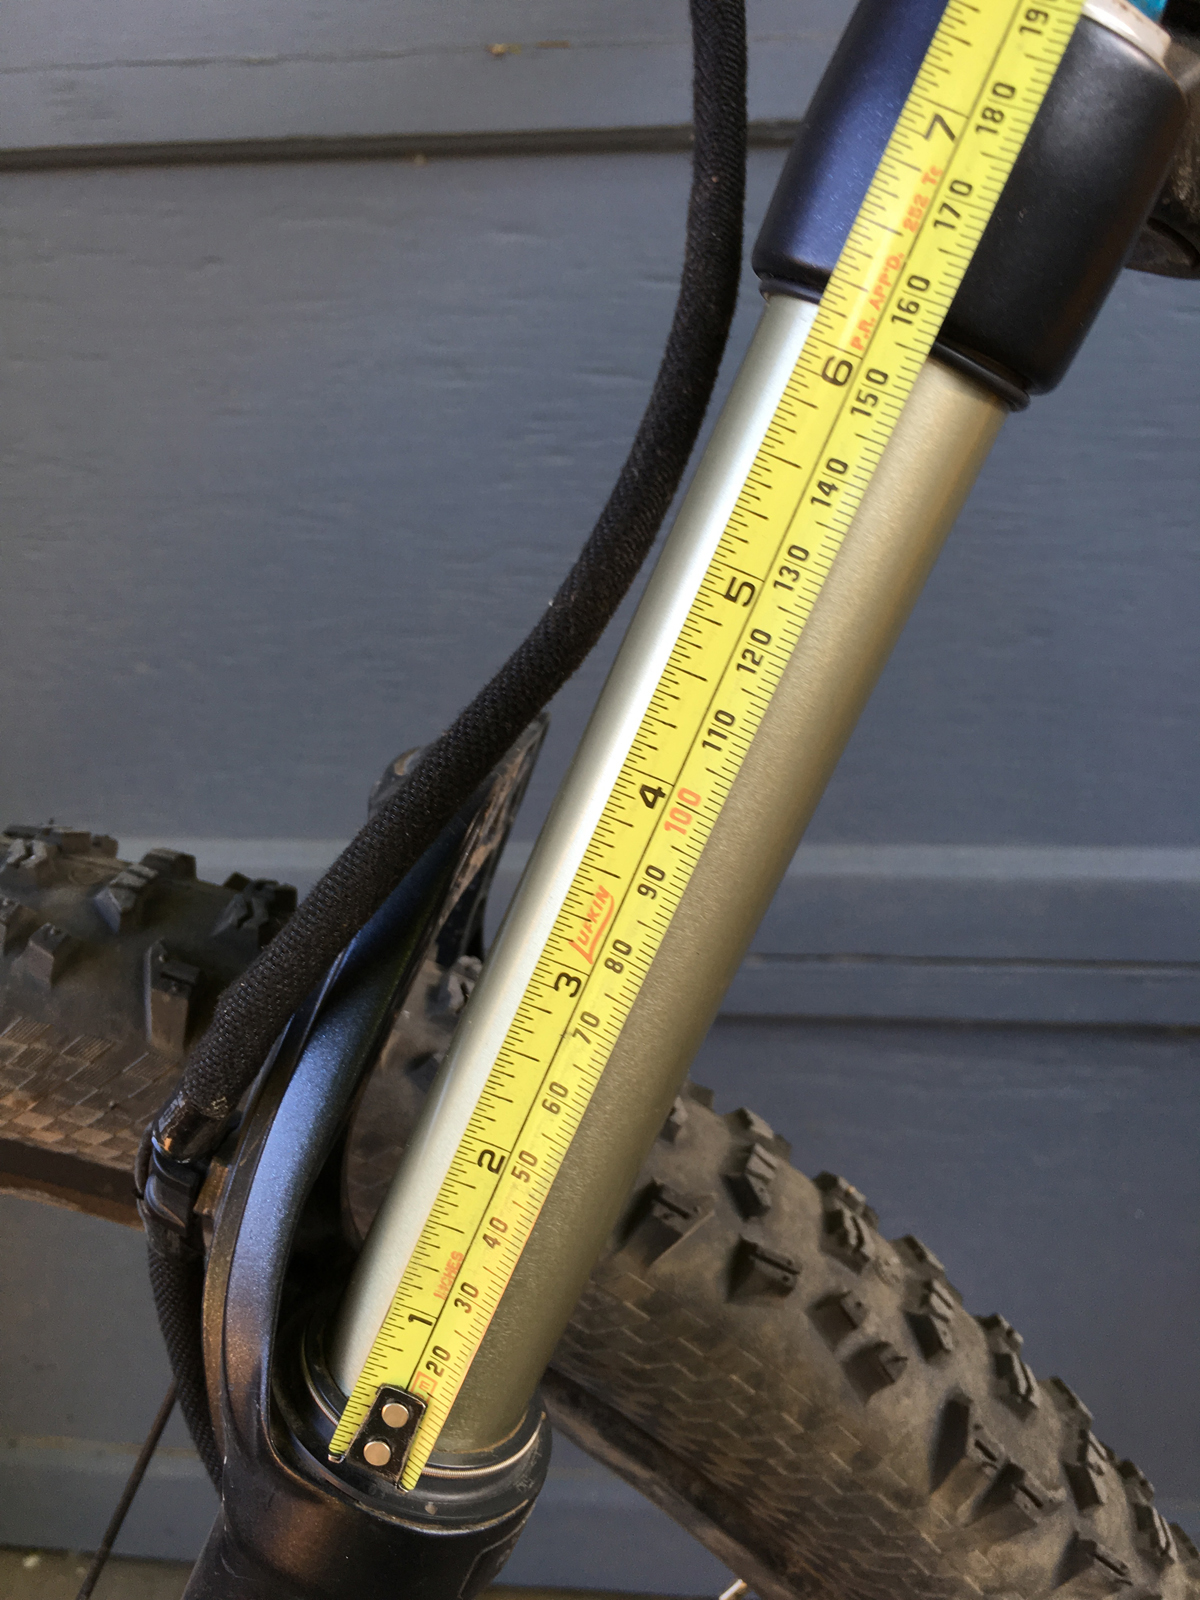
In order to measure the suspension fork travel, first measure the length of the fork from the top of the seal to crown. That will approximately equal the fork travel. Apply the percentage of sag to the suspension travel to come up with a measurement. For example, if a fork has 150mm of travel, 30 percent sag would equal approximately 50mm. This means that the initial air pressure setting would allow the fork to compress 50mm under the rider’s weight. In this example, adjust the pressure until the distance from the seal to crown is, for this example, 100mm. Record this air pressure. Setting the rear shock can be done in a similar fashion by measuring to the end of the shock shaft. Record this air pressure also. If the fork or shock has an o-ring on the slider, weight the bicycle, slide the o-ring to the seal, and then gently dismount the bike. When properly set, there would be (using our previous example) 50 mm between the seal and the o-ring.
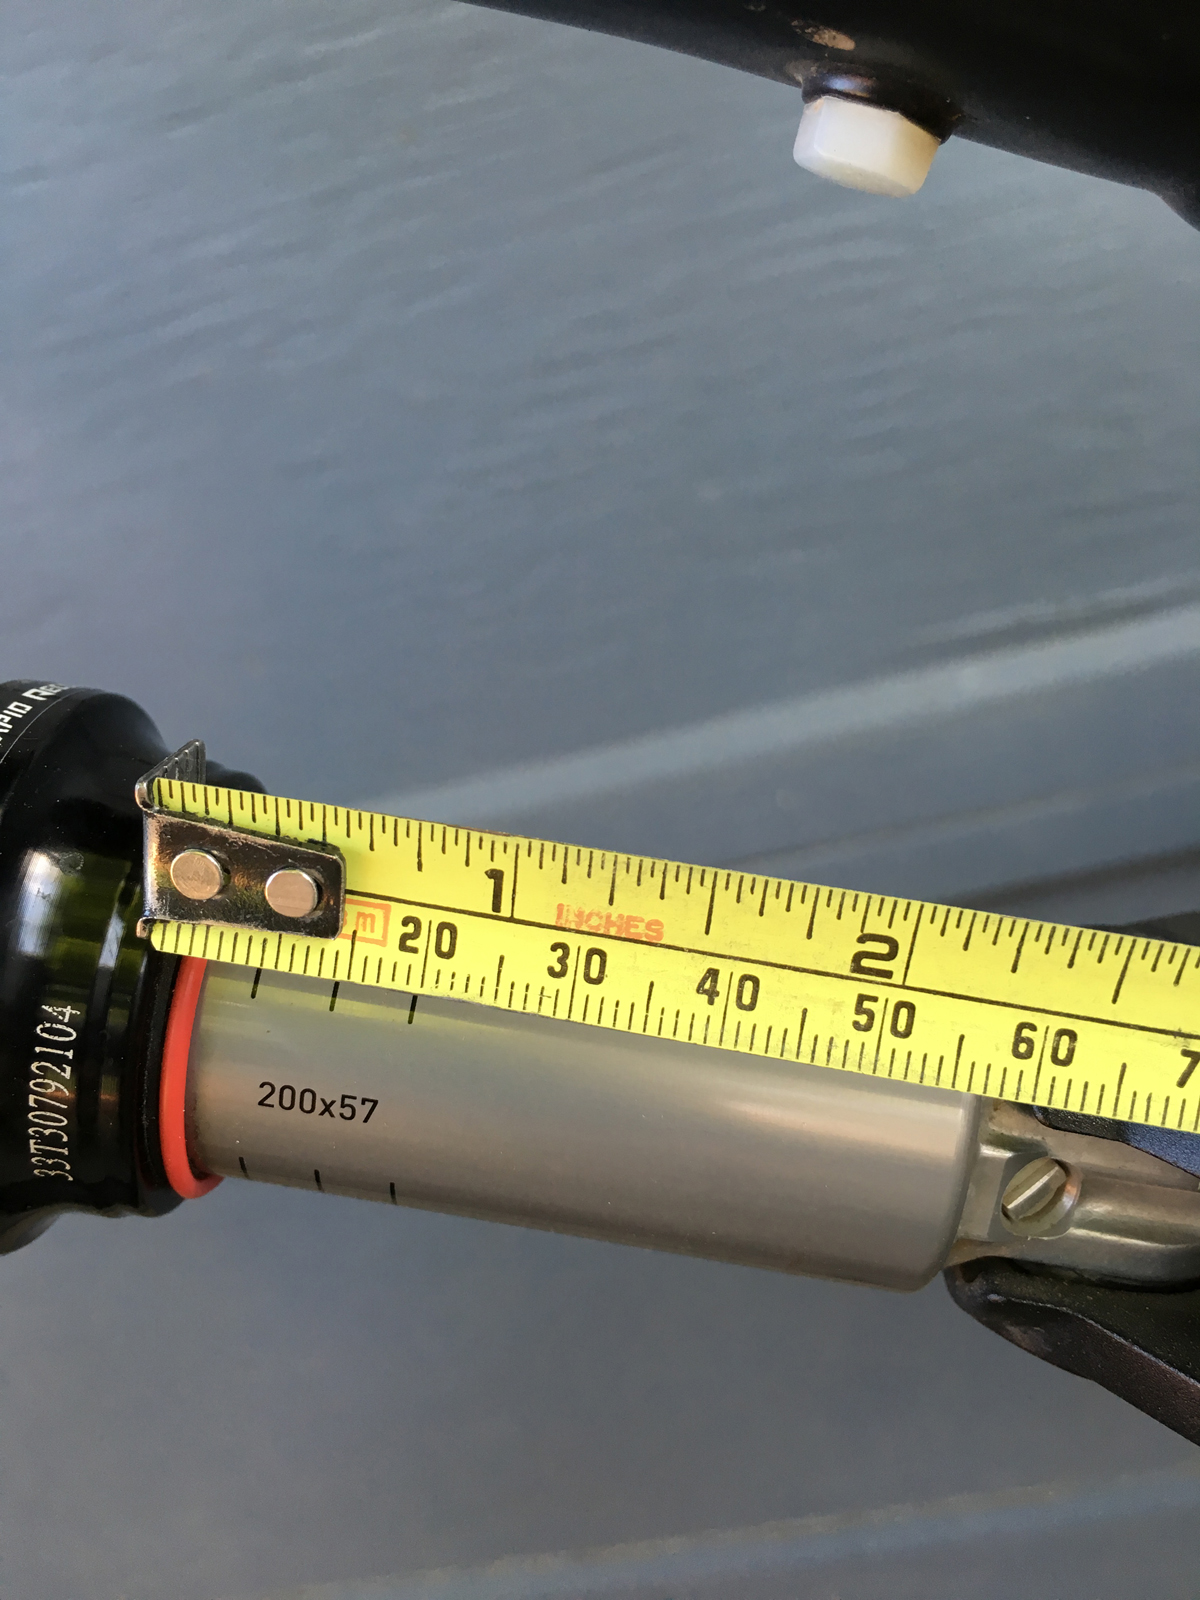
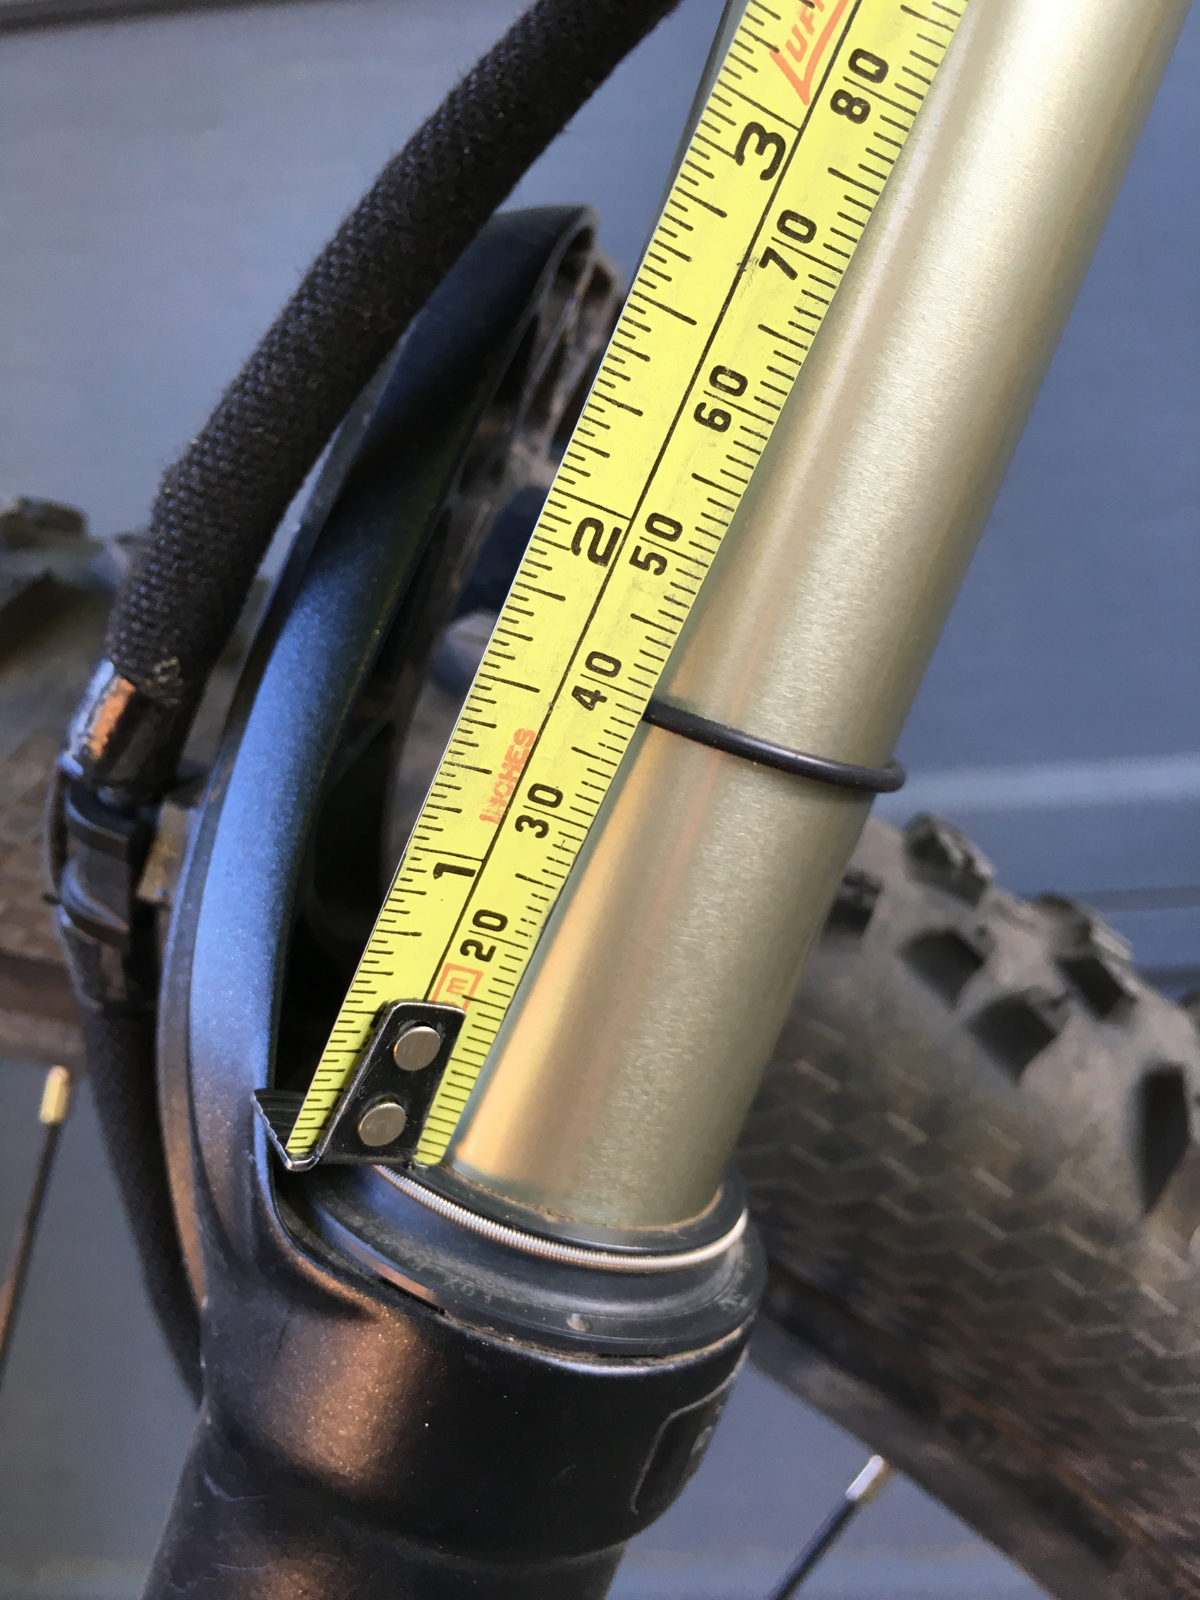
Finally it’s time to ride. Pay close attention to the way the bike rides with these settings. I often carry a shock pump with me in order to make adjustments during the ride. Sometimes it takes three or four rides to find the pressure you like. When you have found it, write it down.
Did this procedure take a while? Depends on how many bikes. Did you write everything down? I hope so. Because if you did, it’s going to save you preparation time for every ride. Perhaps more importantly, it will save time when it matters most; for that first ride of the season when all the family bikes need to get dialed in.

