By Tom Jow — Have you ever wondered what your favorite bike technician’s workspace is like? How many tools does he or she use? Is their workspace a disaster area, like a teenagers bedroom? Or is it super clean and organized like a hair stylist or dentist? Unlike most bicycle mechanics, the hair stylist and dentist invite us into their workspace. This month in Mechanic’s Corner, I’d like to invite you into my work area.


In my current position, I prepare bikes and frames for sale. That’s all. Depending on what type of bikes they are, I build as few as one or as many as five per day. This workload includes both road and mountain, equipped with basic cable controls, electronic, hydraulic, or some combination of the two. Add in a dropper seatpost and internal cable routing and these machines can be pretty complicated. Therefore, my bench is equipped for every task with a computer (for research), presses, taps and bleed kits as well as standard hand tools like screwdrivers and allen wrenches. (photo 1)

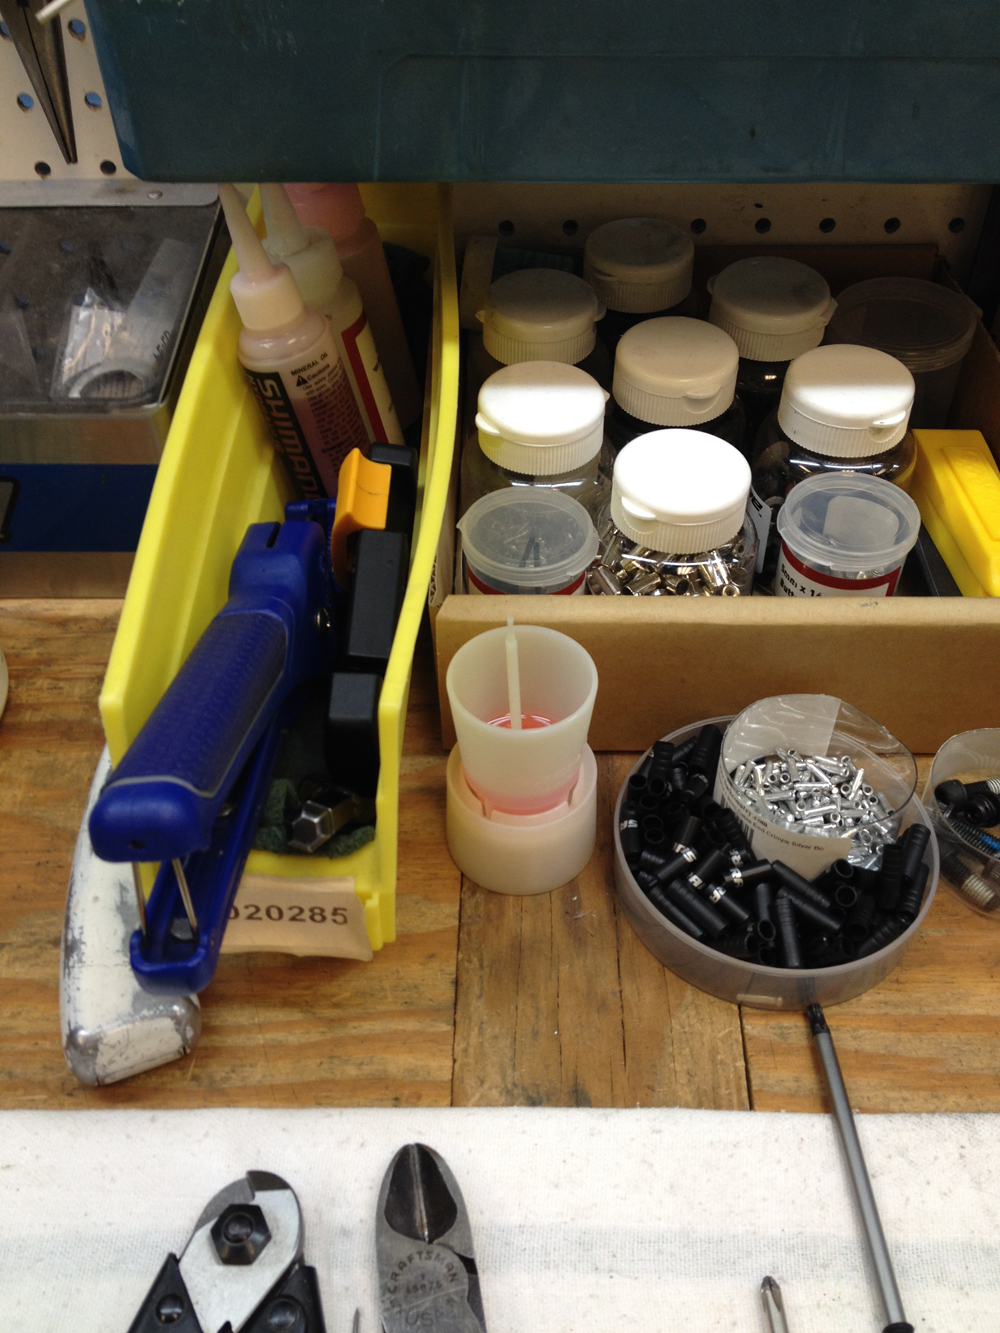
The tools I use the most have a home right in the middle of the workbench. Over the years these are the tools that fit my working style the best. I’m lucky to be able to order just about any tool I want. I keep them on the bench in this order:
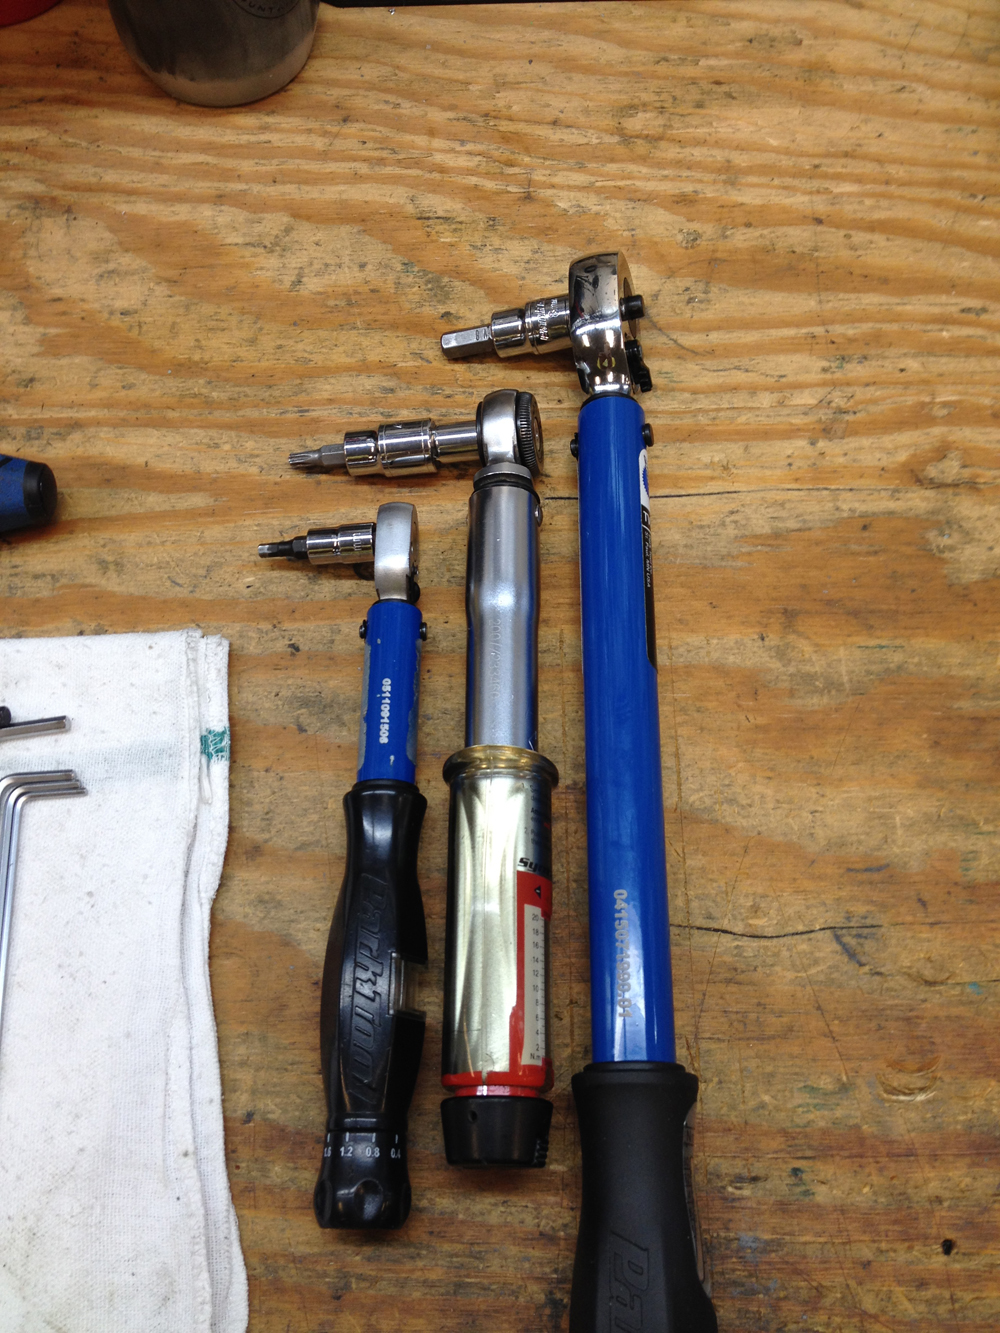
Pedro’s cable cutters, sharp pick, Sears craftsman side cutters, #1 phillips screwdriver (with the tip ground down a bit), T25 torx driver, Bondhus metric ball end drivers in 5, 4, 3, 2.5 millimeter sizes and L-handle allen wrenches in 5, 4, 3, 2.5 and 2 millimeter sizes. Every bolt gets tightened to specification. I use 3 different torque wrenches; one each for low, medium and high torque applications. Just behind these are containers of cable ferrules, cable end tips, water bottle bolts, cable ties, Shimano bleed cup (always with fluid) and hydraulic hose cutting tools. (photo 2)
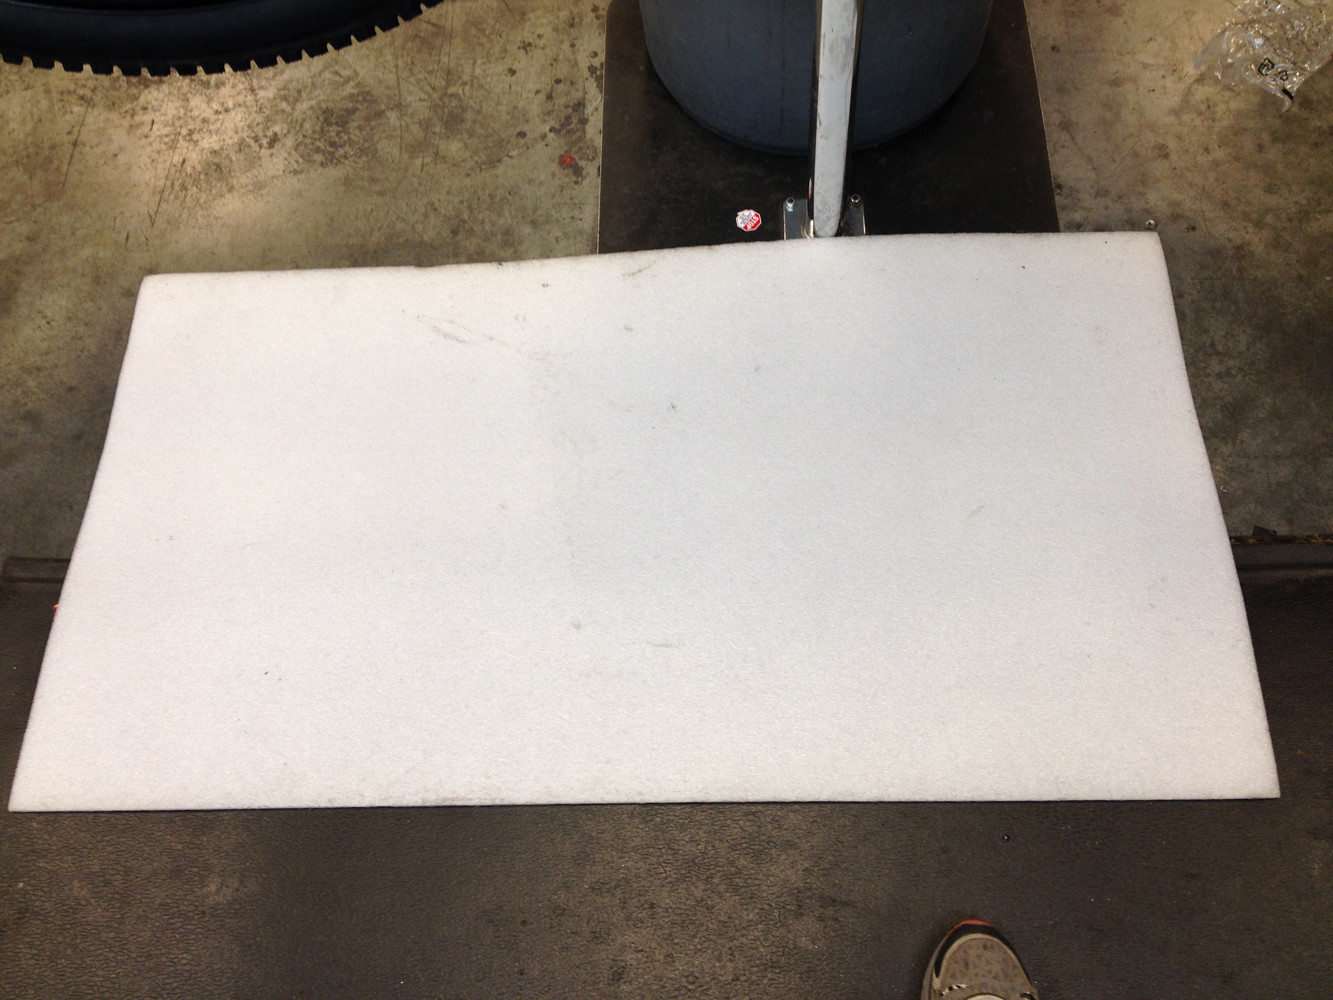
Unfortunately, not all bicycles are designed around using off the shelf tools. For these cases I make or modify a tool. Sometimes the tool can be used universally, other times it can only be used for one task. Some tasks, such as component setup, is made easier with a custom template. For example, the KS dropper posts requires a specific cable length so I made spacers to make it easier to cut to the correct length each time. In order to speed up the process of installing the handlebar controls, I’ve made cardboard templates to set the brake and shifter levers in the same place every time. (photo 3)
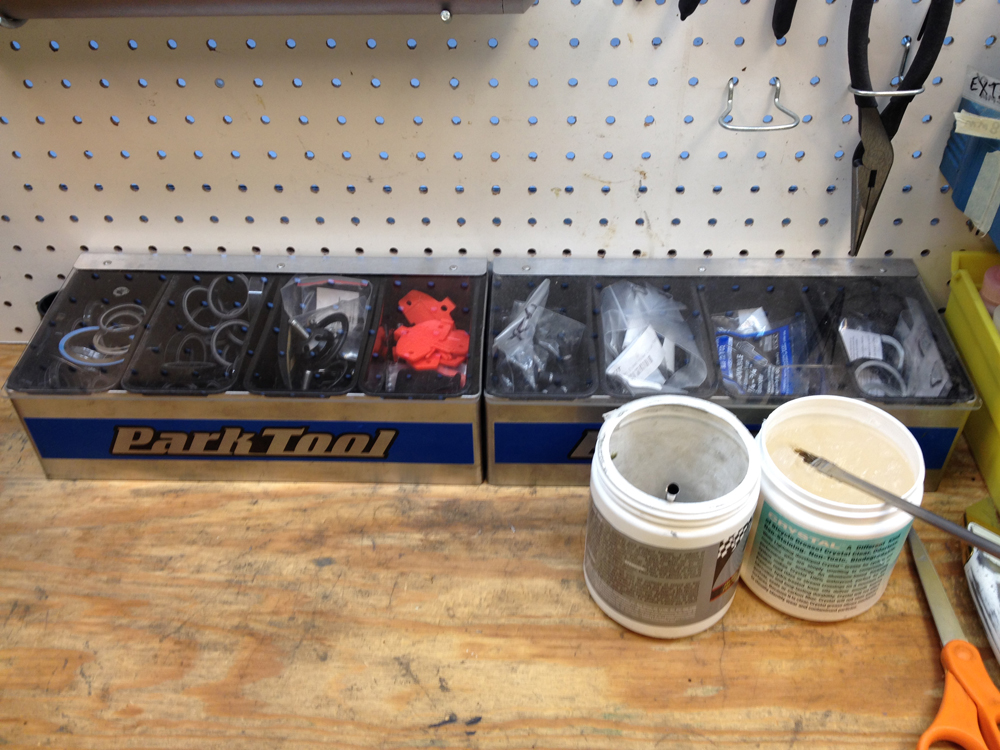
If you look closely at the photograph of the tool wall, you may notice that there are a lot of tools, many which are not applicable to current bikes. If you purchase an all inclusive tool set, many of these unnecessary tools are what you are going to get. For someone setting up a new home shop, it’s important to take inventory of what tools are
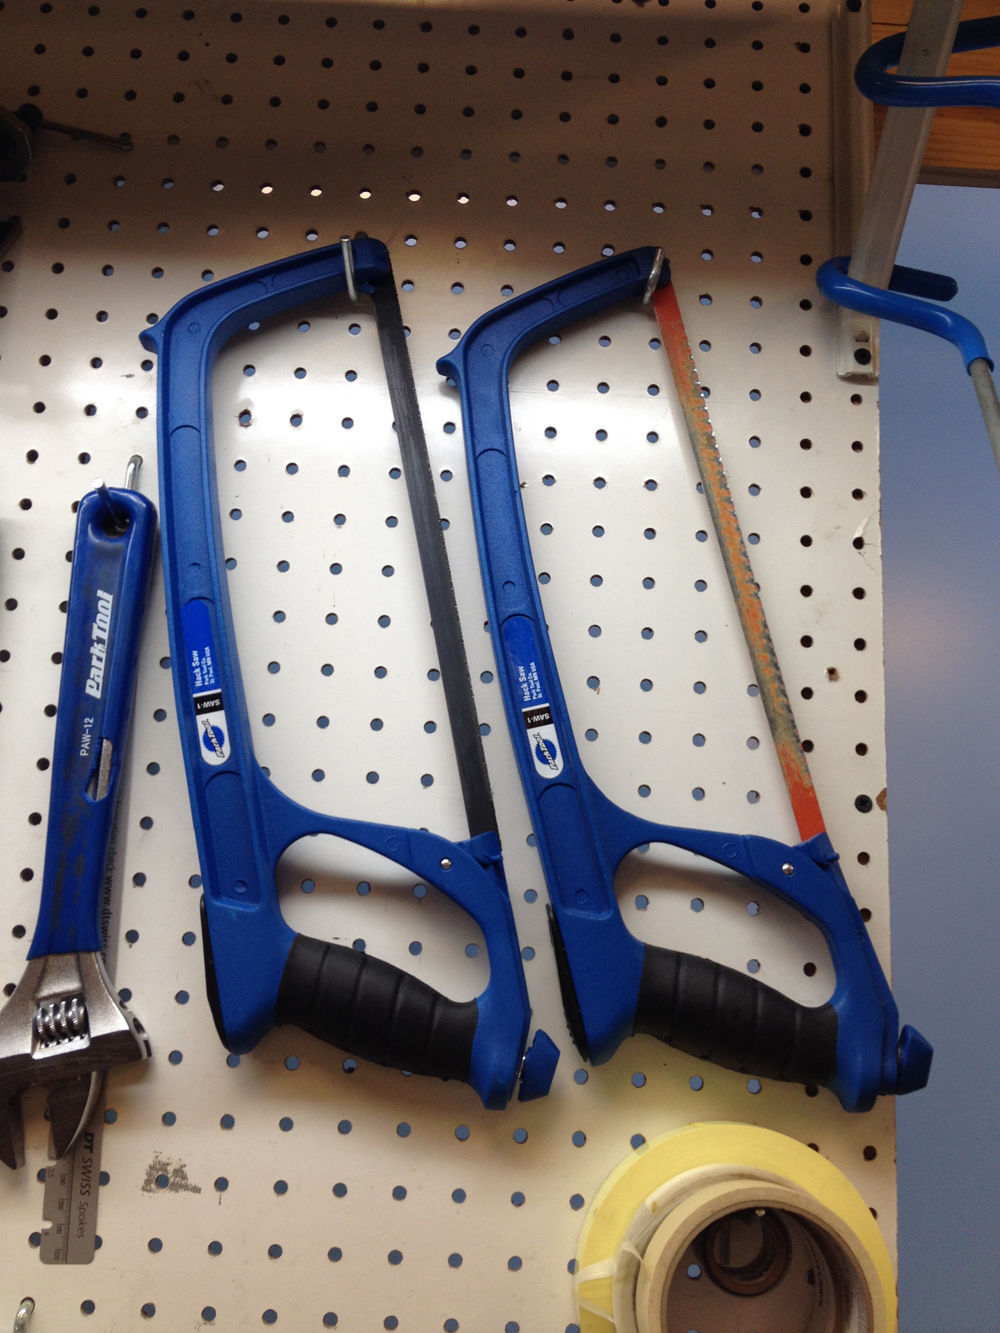
necessary to perform the repairs you plan to do. For example, there’s no point in purchasing hub cone wrenches if your bike has DT Swiss wheels on it. On the other hand, you will need a 10mm allen wrench for that FSA BB30 crankset. When purchasing tools, keep in mind that while a complete set looks good on the wall, it can be a waste of money if only one size is needed from that set. Just like picking equipment for a new bike, selecting tools for a shop requires time and experience. Said another way, trial and error. Happy tool hunting!


